Setting up the Sky-Watcher EQ6-R
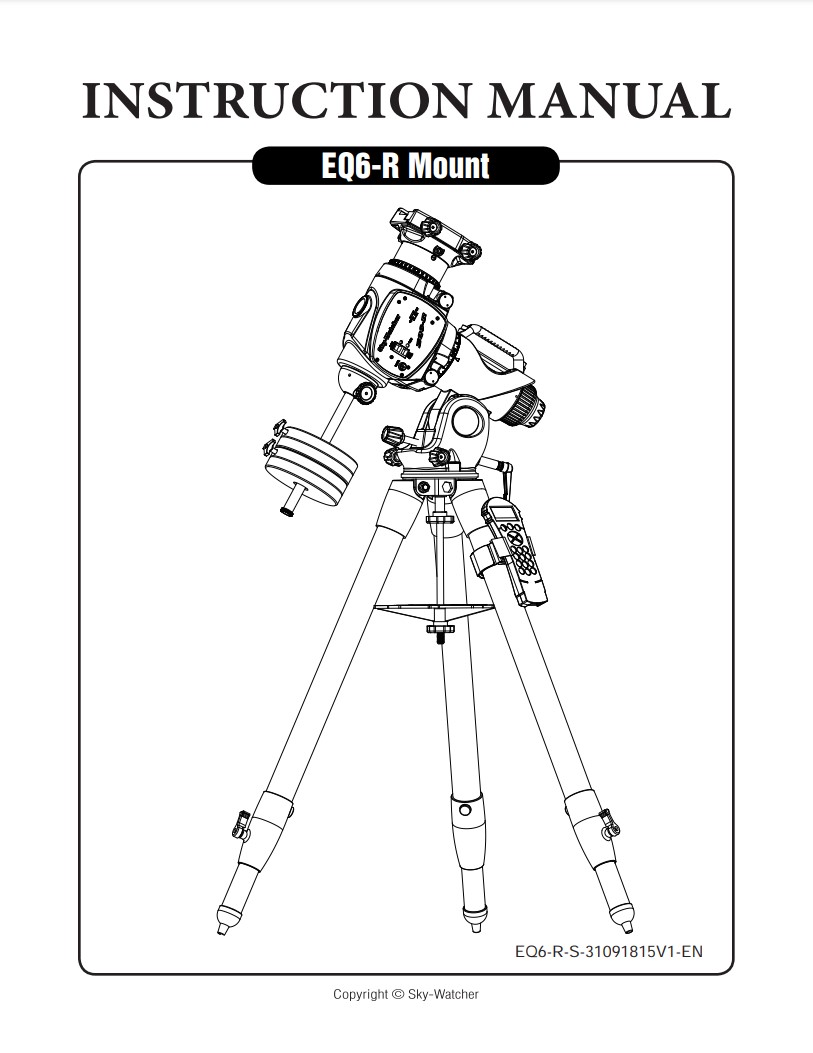
The Sky-Watcher EQ6-R Pro is a German Equatorial telescope mount with many improvements over other mounts that make it ideal for astrophotography.
- Payload: 44lbs / 20kg
- Mount Weight: 38lb / 17.2kg
- Tripod Weight: 16.5lb / 7.5kg
- Permanent periodic error correction
- Belt driven axes
- Vixen and Losmandy compatible saddle plate
Assembly
It’s just a tripod, it is pretty straightforward to set up.
Spread out the tripod legs and set the tripod on roughly level ground with the stud aligned with North. If the ground is soft, it will help to put something underneath the tripod feet or fit some large washers onto the feet.
Unlock the legs and raise the tripod to your desired observing height (bear in mind that the more the legs are extended, the more susceptible the mount is to vibration). Lock the northern leg and raise/lower the other two legs to set the North/South level. Lock one of the remaining legs and raise/lower the remaining unlocked leg to set the East/West level.
Loosen the two azimuth adjusting bolts on the mount head and set the mount on the tripod, aligning the stud with the gap between the azimuth bolts. Slightly tighten the two azimuth adjusting bolts to gently hold the mount in place.
Support the mount with one hand and push the central locking shaft up into the mount, turning the shaft counter-clockwise to secure the mount to the tripod.
Slide the accessory tray up along the locking shaft and secure the tray with the locking washer and bolt. The accessory tray is required to ensure the tripod legs remain rigid throughout observing. Attach the hand controller bracket to a tripod leg if desired.
Loosen the knob securing the counterweight shaft and extend it, re-tighten the knob to secure the shaft again. Remove the countweight shaft cap and install the desired counterweights and/or shaft extension before replace the shaft cap for safety.
Mounting and Balancing
Proper balancing of your telescope reduces the work the mount has to do which increases tracking accuracy and increases the life of your mount.
Release the R.A. axis clutch and set the position so that the counterweight shaft is pointing straight down before resecuring the clutch. Release the Declination axis clutch and set the axis position so that the saddle knobs are pointing up and the dovetail groove is level before resecuring the clutch.
Loosen the saddle knobs and seat the telescope dovetail into the saddle plate, tightening the two knobs to secure the telescope.
Loosen the R.A. axis clutch and rotate the axis until the counterweight shaft is parallel to the ground, resecure the clutch. Loosen the Declination axis clutch and rotate the axis until the telescope is parallel to the ground, resecure the clutch.
Hold the telescope with one hand and carefully loosen the Declination axis clutch. Adjust the telescope position forward/backward in the saddle until the mount is able to remain stationary without support. Verify that the mount is able to remain stationary in multiple orientations.
Hold the counterweight shaft with one hand and carefully loosen the R.A. axis clutch. Move the counterweights along the counterweight shaft until the mount is able to remain stationary without support. Tighten the counterweights and verify that the mount is able to remain stationary in multiple orientations.
Loosen the R.A. axis clutch and rotate the axis until the counterweight shaft is pointing straight down, resecure the clutch. Loosen the Declination axis clutch and rotate the axis until the telescope is parallel to the ground, resecure the clutch. This is the “Park” and “Home” position of the mount.
Alignment
Your equatorial mount needs to be aligned to the axis of rotation of the Earth in order to effectively track celestial objects.
Preparation
When you set up your tripod you should have performed a rough alignment with the North Pole. If you did not, now is the time to do it (and remember how hard it is with a fully loaded mount and do it ahead of time next time).
You also should have already roughly set the R.A. axis’s elevation to your latitude, if you didn’t, go do that now (same story).
Remove the polar scope caps and then loosen the declination axis clutch and rotate the axis until the hole in the R.A. axis shaft aligns with the polar scope.
Turn on the mount to illuminate the the polar scope and verify you can see Polaris inside the scope. If you cannot see Polaris inside the field of view, verify you have aligned the mount with the North Pole and set the R.A. axis elevation to your latitude. If the stars appear blurry, turn the knurled ring on the eyepiece to focus.
Polar Scope Alignment
WHen you first purchase the mount or if you have travelled or not used the mount in a while you need to calibrate the polar scope to the R.A. axis before you can use it to perform polar alignment. You do not need to do this every time you use the mount (though it doesn’t hurt if you have the time).
Select a far-away, fixed object and adjust the azimuth and elevation adjustment bolts to center the polar scope reticle over this object.
Loosen the R.A. axis clutch before turning the axis through half a turn (look at the dial to do this accurately) and then tightening the axis clutch again.
If the object remains at the center of the reticle then the scope is calibrated and your job is done. If the object moved, use the three adjustment screws on the polar scope to move the object halfway back to the center of the reticle.
- Repeat steps 1 through 3 a few times until the object stays at the center of the reticle.
Polar Alignment
Find the correct position of Polaris for your current location and time by waiting for the “Polaris Position in P.Scope=HH:MM” message after the SynScan controller finishished initializing or by using app such as Polar Finder.
Visualize the reticle circle as a clock face and move Polaris to the indicated position. Loosen one of the azimuth or elevation knobs and then tighten the opposite knob to move Polaris. Do not try to use both axis at once and do not over tighten the knobs or you may crack your mount or the adjustment bolts.
GoTo Alignment
Setup home position…
Initialize the hand control
Observing!
Get out there and observe!
Resources
comments powered by DisqusAbout
An engineer prone to wild flights of fancy and deep dives down Wikipedia until I learn something new.
Read More